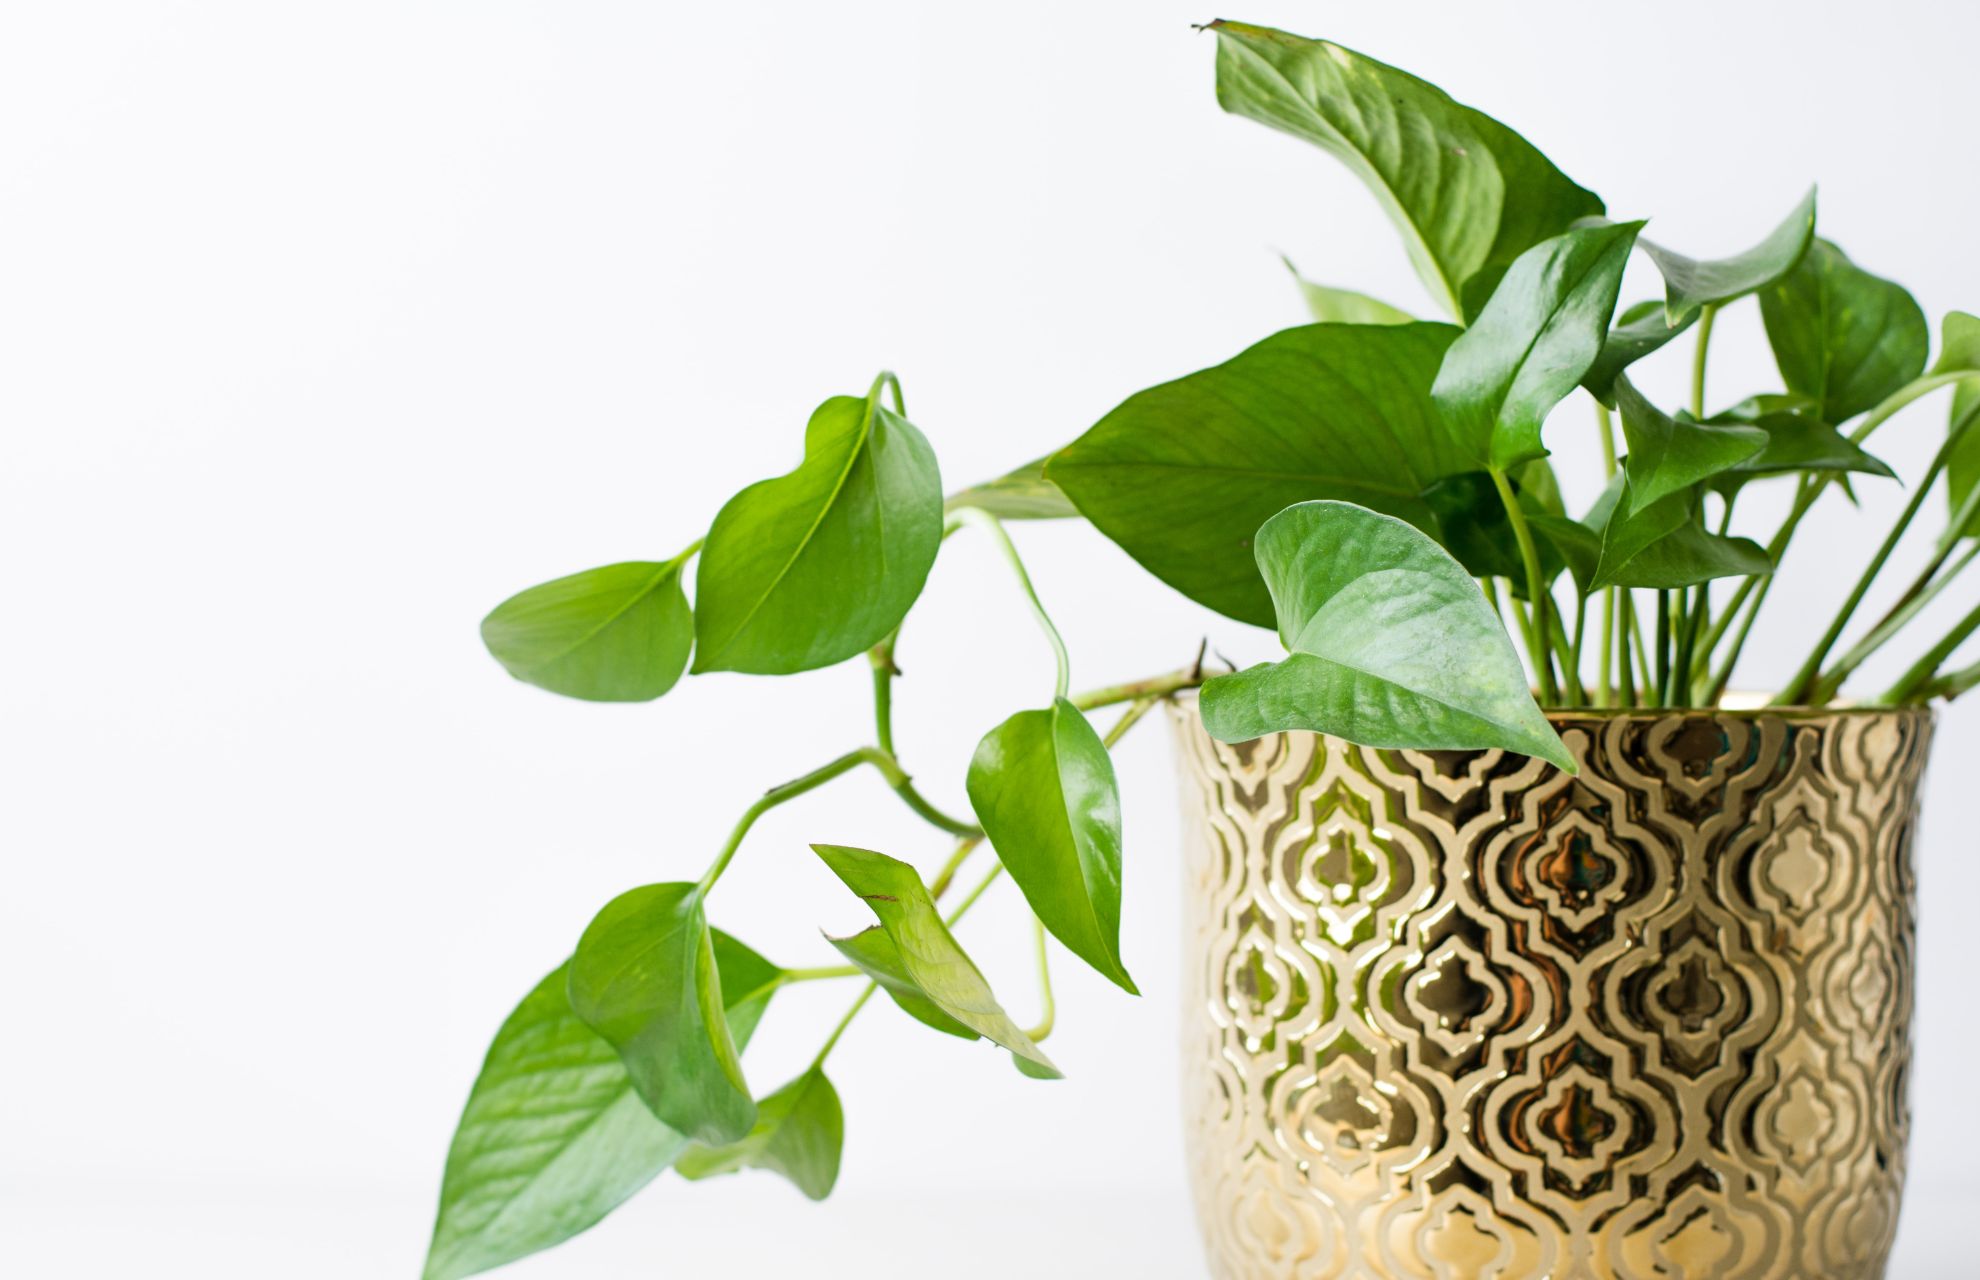
Some of the most well-liked houseplants are pothos plants. They don’t have particular requirements for fertilization, light, or water. Additionally, they make the ideal living decoration, draping along bookcases or climbing a trellis to create a vertical living wall feature. Pothos is also among the simplest plants to propagate, which is another benefit. Please carefully read this article if you want to learn how to propagate pothos.
Remove The Cuttings
Make sure you have a set of clean, disinfected pruning shears or scissors before you begin. By doing this, any possible bacterial or disease outbreaks are stopped before they can affect the parent plant or the new cuttings.
In order to make a precise cut and guard against stem damage, they should also be as sharp as possible.
To take a cutting from, select a long, healthy stem. The likelihood of successful rooting increases with stem health.
Just below a leaf node—where the leaf meets the stem—remove a portion of the stem that is at least four inches long. Your cutting needs at least three or four full leaves for the best chances of rooting. To increase surface area, cut at a 45° angle.
Leave at least one or two leaves at the top of the stem after removing the lower sets of leaves. Divide a longer cutting with numerous nodes into two sections. You increase your chances of successful propagation by taking more cuttings.
You are prepared to begin rooting the cuttings after they have been prepared. You can do this directly into the ground or in a body of water.
Root The Cuttings
In Water
Taking a small piece of the stem and leaves and soaking them in water to create roots is all that is required to propagate a cutting.
The one thing you need to keep in mind is that when you snip a cutting, you must select a piece that includes a node, or the cutting won’t form roots.
Nodes are the areas on a plant where the stem and leaves meet. The internodes, or spaces in between the nodes, are less active cellularly than this area.
Don’t worry; pothos plants have very few nodes because, in addition to having aerial root nodes, they also have leaf nodes. These are thick, dark nubs that can sometimes form roots but don’t always. You’ll be fine if you incorporate even just one of these.
Cut a six-inch piece of stem that has at least one node and one leaf. Place the cutting in a glass of room-temperature water and expose it to direct sunlight.
Every couple of days, change the water and keep a close eye out for any indications that mold is developing in the glass. Clean the glass and replace the water if you spot any.
You’ll eventually start to notice teeny roots emerging from the base. When the roots on your newly rooted pothos are about an inch long, it’s time to plant them in some soil.

Don’t wait too long because it will take the plant longer to adapt to life in the soil the longer the roots are allowed to grow in water. Potting soil should be placed inside a container before transplanting. There should be at least one drainage hole in the container.
To insert the cutting, create a small hole in the ground. The crown, or the point where the stem and roots meet, should be positioned about half an inch below the surface of the soil. So that it stands straight, compact the soil around the roots and stem.
In Soil
Cuttings from the soil are comparable to those from the water. You can cut a piece of the same size, but you must make sure that it has at least one node and one leaf.
Before putting it in a prepared container with the potting substrate, dip the cut end in rooting hormone powder. To make a hole in the soil for the cutting, I find it easier to first poke a pencil into it.
You should definitely purchase some rooting hormone powder if you intend to propagate a lot of plants. It increases the number of initial roots that form and speeds up root growth.
Pothos doesn’t require much assistance, but if you’re eager to reap the rewards of your labor, a little rooting hormone can help to expedite things.
Add a little water after you have firmly inserted the cutting into the ground. As the roots grow, you want the soil to remain moist but not soggy. Put the container somewhere where there is bright, filtered sunlight.
Within a few weeks, roots start to develop. Giving the cutting a light tug will reveal this to have occurred. It is deeply rooted if it struggles. A permanent container can then be used to transplant it at that point.
Read More: What Is The Best Soil For Pothos?
In Sphagnum Moss
Lastly, sphagnum moss is a simple medium for growing pothos. Sphagnum moss is a preferred medium for growers who have experience using it for other plants. It might be worthwhile to give this a shot if you’ve had no luck with the other approaches. If you don’t already have sphagnum moss on hand, using water or soil is usually simpler for most people.
Sphagnum moss is frequently bought dry, so it needs to be soaked for 20 to 30 minutes to rehydrate it before being used for propagation. Put the moss completely underwater in a bowl of water. While you finish the other steps, put it aside.
The moss should be taken out of the water after it has finished soaking and should be wrung out to remove as much water as you can. Once you’re done, the moss ought to be damp but not drenched.
The cuttings should be placed in a small amount of sphagnum moss that has been added to a glass, plastic, or vase. The remaining leaves at the top of the stems should be above the moss, which should completely cover the bottom of the stems with the exposed nodes.
Make sure the moss is touching the cuttings’ nodes and gently press it down around the cuttings to secure them.
Keep the sphagnum moss evenly moist and place the cuttings in a location that receives bright, indirect light. Before roots start to form, it will probably take a few weeks, so it’s critical that the moss remains moist (but not soaked) throughout this period.
Cuttings can be planted in soil once their roots are at least 2 to 3 inches long. This could take more than a month, but it will probably take a few weeks. Plant the cuttings in a small pot with drainage holes using a well-draining soil mixture.
Return the newly potted plant to a location with bright, indirect light after giving it a good watering. For the first one to two weeks, keep the soil evenly moist to aid the roots’ soil acclimatization.
Transplant The Cuttings
When the roots are ready after rooting in water, the cuttings must be transplanted into the ground. The plant will find it more difficult to adjust to the soil’s conditions the longer you leave the cutting in water. As long as the roots are deep enough, sooner is almost always preferable.
A minimum of an inch-long visible root should be present. Cuttings can stay in water for two to three months without any problems after this, though it might take a few weeks.
Prepare a pot filled with the above-mentioned houseplant soil mixture when you are ready to transplant. Plant a group of cuttings you have gathered together from different pots into one container. Instead of a sparse plant with a single stem, you will get a fuller plant that resembles those you would buy from nurseries.
More soil mixture should be added around the stems to fill in any gaps, stopping just below the pot’s rim. To firmly anchor the cuttings, lightly press the soil around them.
After planting, give the plant a good drink of water to flush out any air pockets and encourage root growth. While the plant adjusts to its new environment over the coming months, keep the soil well-watered.
When Should Pothos Be Propagated?
Because this is when the plant is actively growing, spring or summer are the best times to propagate pothos. Avoid trying to propagate these plants in the fall and winter because your chances of success are lower. Stem cuttings made during these months will also make it more difficult for the mother plant to heal.
Read More:


